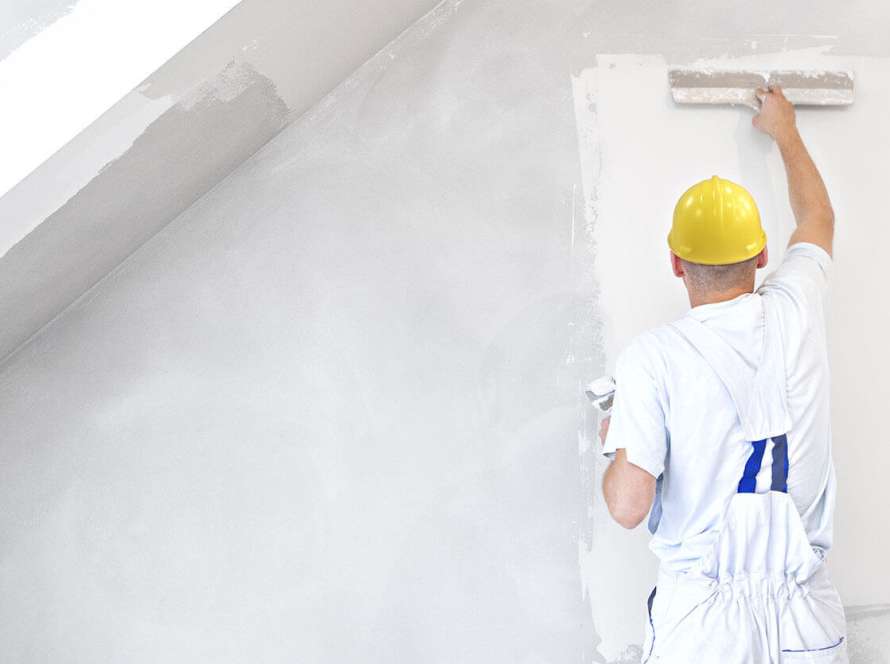
Before you paint your dream home, the surface underneath matters just as much as the paint itself. A smooth and durable finish depends on choosing the right wall putty and applying it correctly. Unfortunately, many homeowners and even first-time contractors make simple mistakes that affect the final appearance of the walls. Cracks, peeling paint, uneven patches, and poor paint adhesion are often the result of incorrect putty application rather than poor-quality paint.
If you are searching for the best putty for walls in India, understanding these mistakes can save both time and money. This guide explains the most common errors, the right application process, and practical tips to achieve long-lasting walls. Whether you are renovating your home or working on a new construction project with a gypsum board ceiling, following the right practices will help you create a flawless finish that lasts for years.
Why Is Wall Putty So Important Before Painting?
Many people think paint alone creates beautiful walls, but the truth is that paint performs best only when applied over a properly prepared surface. Wall putty acts as the foundation that fills small imperfections, smoothens the wall, improves paint adhesion, and enhances durability. Without quality putty, even premium paints may develop cracks or lose their shine over time.
If you are comparing products from different wall putty suppliers, always look beyond price. A premium-quality product offers better coverage, stronger bonding, and lower paint consumption, making it a smarter investment in the long run.
One such trusted solution is Trimurti Expert Wall Putty, developed using advanced German Polymer technology. It provides high adhesion, excellent durability, and creates a smooth base for both interior and exterior walls.
Common Wall Putty Mistakes That Can Damage Your Walls
Many wall problems begin with small mistakes during preparation or application. Knowing these errors beforehand helps homeowners avoid expensive repairs later.
| Common Mistake | What Happens |
| Skipping surface cleaning | Poor bonding, peeling, and flaking |
| Incorrect water ratio | Weak consistency and uneven finish |
| Applying thick coats | Cracks and slow drying |
| Not waiting between coats | Moisture gets trapped inside |
| Using poor-quality putty | Reduced durability and rough finish |
These mistakes may look minor during application, but they become visible once the paint starts drying. Choosing the best putty for walls and following proper installation techniques ensures your walls remain smooth and attractive for years.
What Are the Most Common Wall Putty Mistakes?
1. Ignoring Proper Surface Preparation
One of the biggest mistakes is applying wall putty on dirty surfaces. Dust, grease, loose particles, and old paint prevent the putty from sticking properly. As a result, the surface may peel after painting.
Before starting the application:
- Remove dust and loose particles.
- Scrape away damaged paint.
- Use a wire brush or putty blade.
- Slightly dampen the wall before application.
This simple preparation step improves bonding and creates a stronger foundation for paint.
2. Mixing Wall Putty Incorrectly
Preparing the mixture without following the recommended water ratio is another common issue. Excess water makes the mixture weak, while too little water creates lumps that are difficult to spread evenly.
For the best results:
- Add approximately 36–38% clean water.
- Mix thoroughly for around 10–15 minutes.
- Use a mechanical mixer whenever possible.
- Prepare only the quantity you can use within three hours.
A properly mixed putty spreads smoothly and provides better coverage with less effort.
3. Applying Thick Layers in One Go
Many beginners believe thicker layers provide better coverage. In reality, thick coats dry unevenly because the outer surface hardens much faster than the inner layer. This often results in cracks and uneven finishing.
Instead:
- Apply thin, even coats.
- Allow each coat to dry properly.
- Keep the total thickness below 1.5 mm.
This method creates a smooth surface and improves the overall durability of the wall.
How Should You Apply Wall Putty Correctly?
Applying wall putty the right way is just as important as selecting the product itself. Whether you are working on brick walls, plastered surfaces, or a gypsum board ceiling, following the correct process ensures better adhesion and long-lasting performance.
Step 1: Clean the Surface Thoroughly
Before application, remove every loose particle, dust, grease stain, and old paint residue. A clean and slightly damp wall allows the putty to bond more effectively.
Step 2: Prepare the Mixture
Mix the putty with clean water until it forms a smooth paste without lumps. Avoid preparing excessive quantities because the mixture should ideally be used within three to three-and-a-half hours.
Step 3: Pre-Wet the Surface
A damp wall improves adhesion and helps distribute the putty evenly across the surface. This small step often makes a significant difference in the final finish.
Step 4: Apply the First Coat Carefully
Spread the putty evenly using a putty blade in upward strokes. Once it dries, gently smooth the surface before applying the second coat.
Professional builders across India often recommend using premium products like Trimurti Expert Wall Putty because of its high adhesiveness, moisture resistance, and smooth application, making it easier to achieve a professional-quality finish even for first-time users.
What Are the Best Tips for a Smooth Wall Putty Finish?
Even after applying wall putty correctly, a few finishing practices can make a noticeable difference in the final result. These simple habits help improve durability and give your walls a clean, premium appearance.
Follow these finishing tips:
- Allow the putty to dry completely before painting.
- Avoid moisture or water exposure immediately after application.
- Repair small cracks before they spread further.
- Store unused putty in a sealed bag in a dry place.
- Lightly sand the surface for a smoother finish if required.
- Always use quality products recommended by trusted wall putty suppliers.
These practices reduce the chances of peeling, bubbling, or uneven paint while extending the life of your walls.
Create Walls That Stay Beautiful for Years with Trimurti Expert Wall Putty
Beautiful interiors begin with a strong foundation, and that foundation is quality wall putty. By avoiding common application mistakes, following the correct process, and choosing reliable materials, you can enjoy smoother walls, better paint adhesion, and a finish that lasts for years.
For homeowners looking for the best putty for walls, builders searching for dependable wall putty suppliers, or contractors working on modern homes with a gypsum board ceiling, choosing the right product makes all the difference.
For over 20 years, Trimurti Products has been setting new benchmarks in wall care through innovation, quality, and customer trust. Its Trimurti Expert Wall Putty combines advanced German Polymer technology, high adhesion, superior durability, moisture resistance, and reduced paint consumption to deliver flawless results for both interior and exterior walls.
When you choose Trimurti Products, you’re not just purchasing construction material, you’re partnering with a brand committed to helping you build stronger, smoother, and longer-lasting spaces. From premium-quality products to expert support and timely delivery, Trimurti continues to be a trusted choice for modern Indian homes and construction professionals. Make every wall a reflection of quality with Trimurti Expert Wall Putty.
Frequently Asked Questions (FAQs)
1. What is the biggest mistake while applying wall putty?
The most common mistake is applying wall putty on a dirty or dusty surface. Poor surface preparation reduces bonding strength and may lead to peeling or flaking after painting.
2. How many coats of wall putty are recommended?
Generally, two thin and even coats are recommended. Allow sufficient drying time between each coat for the best results.
3. Which is the best putty for walls in India?
The best putty for walls in India should provide excellent adhesion, smooth finishing, moisture resistance, and long-lasting durability. Premium products like Trimurti Expert Wall Putty are designed to meet these requirements for both residential and commercial projects.
4. Can wall putty be applied on a gypsum board ceiling?
Yes. Quality wall putty can be applied on a gypsum board ceiling to create a smooth surface before painting. Proper surface preparation and correct application techniques are essential for the best finish.
5. How long should wall putty dry before painting?
It is recommended to allow the final coat to dry completely, preferably for 10–12 hours, before applying primer or paint.