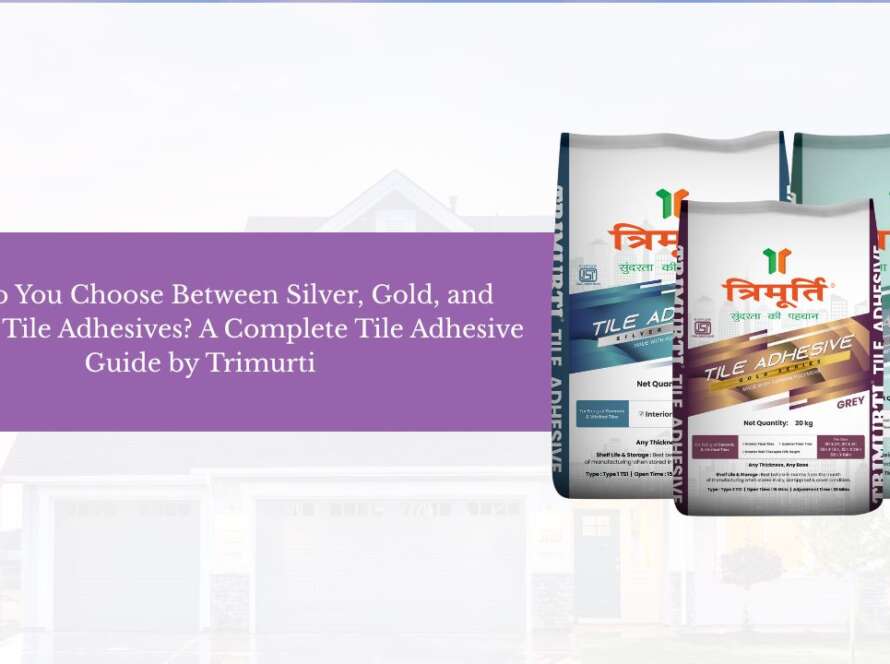
To choose the best tile adhesive for home use, you must match the adhesive type to your specific tile material and substrate. Polymer-modified cement-based adhesives are the best choice for standard home applications like floors and walls due to their high bond strength, excellent water resistance, and flexibility. For specialized tasks like laying large-format tiles or tiling high-moisture zones, advanced polymer formulations provide the necessary sag resistance and durability required to ensure a permanent, lifetime bond.
Whether you are a DIY enthusiast or a professional contractor, understanding the technical differences between various tile adhesives is essential. This guide breaks down the selection process, applications, and professional insights to help you choose the ideal tile adhesive for your project.
Why Modern Tile Adhesives Outperform Traditional Mortar
Traditional sand-and-cement mixtures lack the chemical engineering required to support modern vitrified tiles, large-format slabs, and non-porous stones. Because modern vitrified and porcelain tiles have exceptionally low porosity (often less than 0.5%), traditional cement mixes cannot grip them effectively, leading to hollow sounds, cracking, and de-bonding over time.
- Modern tile adhesives are engineered with advanced polymers.
- These polymers create a chemical bond in addition to a mechanical one, allowing the adhesive to grip onto dense, non-porous surfaces.
- Pre-mixed polymer adhesives offer excellent water retention properties.
- This prevents the substrate from pulling water out of the mortar too quickly, ensuring the cement cures completely and reaches its maximum design strength.
Technical Classification of Tile Adhesives
To make an informed decision, it helps to understand how tile adhesives are classified under international and national quality standards. Under standard specifications, adhesives are generally categorized into three main types:
1. Type 1 (C1) Adhesives
These are standard cementitious adhesives suitable for fixing high-porosity tiles, such as ceramic tiles, on stable walls and flooring surfaces. They are ideal for interior dry areas where structural movement is minimal.
2. Type 2 (C2) Adhesives
These are high-performance polymer-modified cementitious adhesives. They exhibit superior bond strength and are engineered for low-porosity tiles, including porcelain, vitrified tiles, and natural stones. They are excellent for both interior wet areas (like showers) and exterior applications subjected to environmental shifts.
3. Type 3 / Reactive Resin (R) Adhesives
These are synthetic resin-based adhesives, most commonly epoxy-based formulas. They offer exceptionally high chemical resistance, waterproofing, and high bond strength. They are reserved for demanding residential applications, such as tiling over metal substrates, glass mosaics, or kitchen countertops that experience heavy chemical exposure.
Choosing Based on The Application Area
A single residential property contains multiple distinct environments, each requiring a specific type of tile adhesive in India projects demand for climate-resilient performance.
Dry Interior Floors (Living Rooms, Bedrooms)
For standard interior flooring installations using ceramic or vitrified tiles, a standard polymer-modified cementitious adhesive is highly efficient. It offers ample open time (the window of time the adhesive remains wet and workable after application), allowing installers to adjust tiles precisely for perfectly level floors.
Wet Areas (Bathrooms, Kitchens, and Balconies)
Wet zones are subject to constant water exposure and temperature fluctuations. Using an ordinary adhesive here will lead to moisture ingress, mold growth, and eventual adhesive failure. You must use a specialized waterproof, high-polymer adhesive. These formulations form an impermeable layer underneath the tile, stopping water from penetrating into the structural subfloor.
Vertical Walls and Kitchen Splashbacks
If you use a heavy tile with a standard adhesive, the tile will slip downward before the adhesive sets. For wall applications, look for adhesives labeled with “T” (Thixotropic) properties, which indicate high sag resistance. This ensures the tile stays exactly where you place it on the wall without sliding.
Step-by-Step Installation Guide: DIY & Professional Insights
Achieving a flawless, permanent tile installation requires proper technique. Even the highest-quality adhesive will fail if surface preparation or application methods are rushed.
Step 1: Substrate Preparation
The surface must be completely clean, structurally sound, flat, and free from dust, oil, grease, or curing compounds. Any hollow patches or cracks in the concrete slab should be repaired using a suitable repair mortar at least 24 hours before tiling begins.
Step 2: Mixing the Adhesive
Always add the tile adhesive powder to clean water, never the other way around. Follow the manufacturer’s exact water-to-powder ratio. Mix thoroughly using a slow-speed mechanical mixer until a smooth, lump-free paste forms. Allow the mixture to stand for 5 to 10 minutes, then remix briefly before application. This slaking process allows the polymers to activate completely.
Step 3: Application Using a Notched Trowel
Do not apply adhesive using the spot bonding or dot-and-dab method. This leaves hollow voids underneath the tile, making it highly susceptible to cracking under impact.
Apply the adhesive evenly onto the substrate using the flat side of a notched trowel, then comb through it with the notched edge held at a 45-degree angle. This creates uniform ridges that ensure 100% adhesive coverage when the tile is pressed into place.
Step 4: Placing and Grouting the Tiles
Press the tiles firmly into the adhesive bed with a slight twisting motion to collapse the ridges and ensure complete contact. Use tile spacers to maintain uniform grout lines. Allow the adhesive to cure undisturbed for at least 24 hours before allowing foot traffic or applying grout.
Essential Safety Precautions for Tiling Projects
When working with cementitious materials and chemical adhesives, prioritizing personal safety prevents injuries and health issues:
- Skin Protection: Cement contains alkaline compounds that can cause chemical burns. Always wear heavy-duty rubber gloves and long-sleeved clothing.
- Respiratory Safety: Mixing dry adhesive powder creates airborne dust. Wear an approved dust mask (N95 or higher) during the mixing phase to avoid inhaling silica particles.
- Eye Protection: Use protective safety goggles to safeguard your eyes from accidental splashes during mechanical mixing or flying chips when cutting tiles.
Upgrade Your Home Construction with Trimurti Products
When it comes to securing the structural longevity of your home, choosing the best tile adhesive in India is crucial for preventing hollow sound defects and cracking. Trimurti Products manufactures an elite range of advanced tile fixing solutions engineered specifically to handle modern building materials and diverse climate demands.
To inquire about the current Trimurti tile adhesive price, explore our official website today and elevate the building standards of your next project.
Frequently Asked Questions (FAQs)
1. Can I apply new tile adhesive directly over an old tiled floor?
Yes, you can apply new adhesive over old tiles, provided you use a highly modified polymer or epoxy adhesive designed for non-porous surfaces, and the existing tiles are firmly bonded without any hollow sections.
2. How long does it take for residential tile adhesive to dry completely?
Under standard conditions, most modern adhesives require 24 hours to cure before accommodating light foot traffic and grouting. However, full chemical curing and maximum bond strength are typically achieved after 14 to 28 days.
3. What happens if I add too much water to the adhesive mix?
Adding excess water thins out the mixture, which severely reduces its mechanical strength, increases drying shrinkage, causes the adhesive to sag on walls, and ultimately leads to hollow tiles that detach easily.
4. Do I need to soak modern vitrified tiles in water before installation?
No, modern vitrified and porcelain tiles should never be soaked in water before installation. Modern polymer adhesives are chemically formulated to retain their own moisture, and wet tiles will actually weaken the chemical bond.
5. How do I choose the correct notched trowel size for my tiling project?
Trowel size depends on tile dimensions. For small ceramic tiles up to 300x300mm, a 6mm trowel is ideal. Larger tiles (600x600mm or more) require a 10mm to 12mm notched trowel to ensure complete coverage.